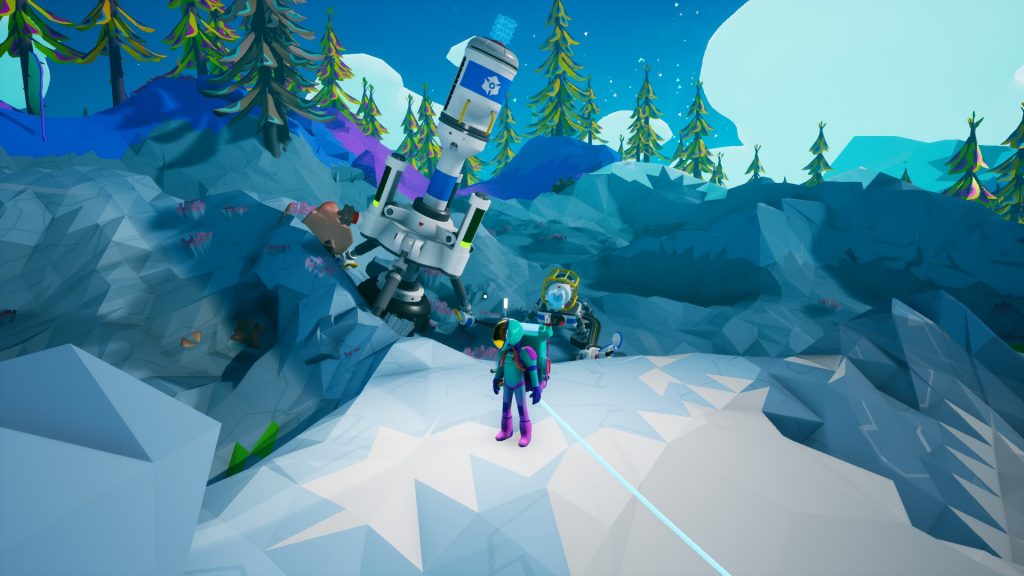
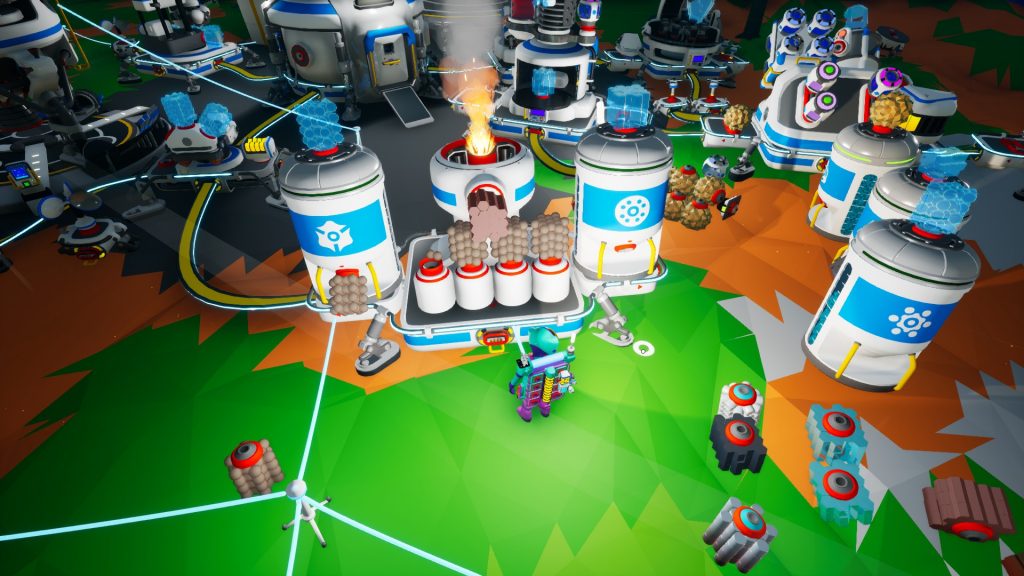
Astroneer’s Fall Update is out and includes Spooky Squash again! We have different types like Knobbly SturdySquash, and different types of Caudrangeas that produce biofuel from Spookysquash samples and hazard seeds. After making a bunch of biofuel you can get enough points for some reward items.
This time I really need to set up some better automation in order to get enough points. So I’m watching videos on the various repeaters. The new one added in this release is the proximity repeater, which will automatically plant the seeds or harvest the pumpkins in its radius when activated. This will be the first time I use the repeaters.
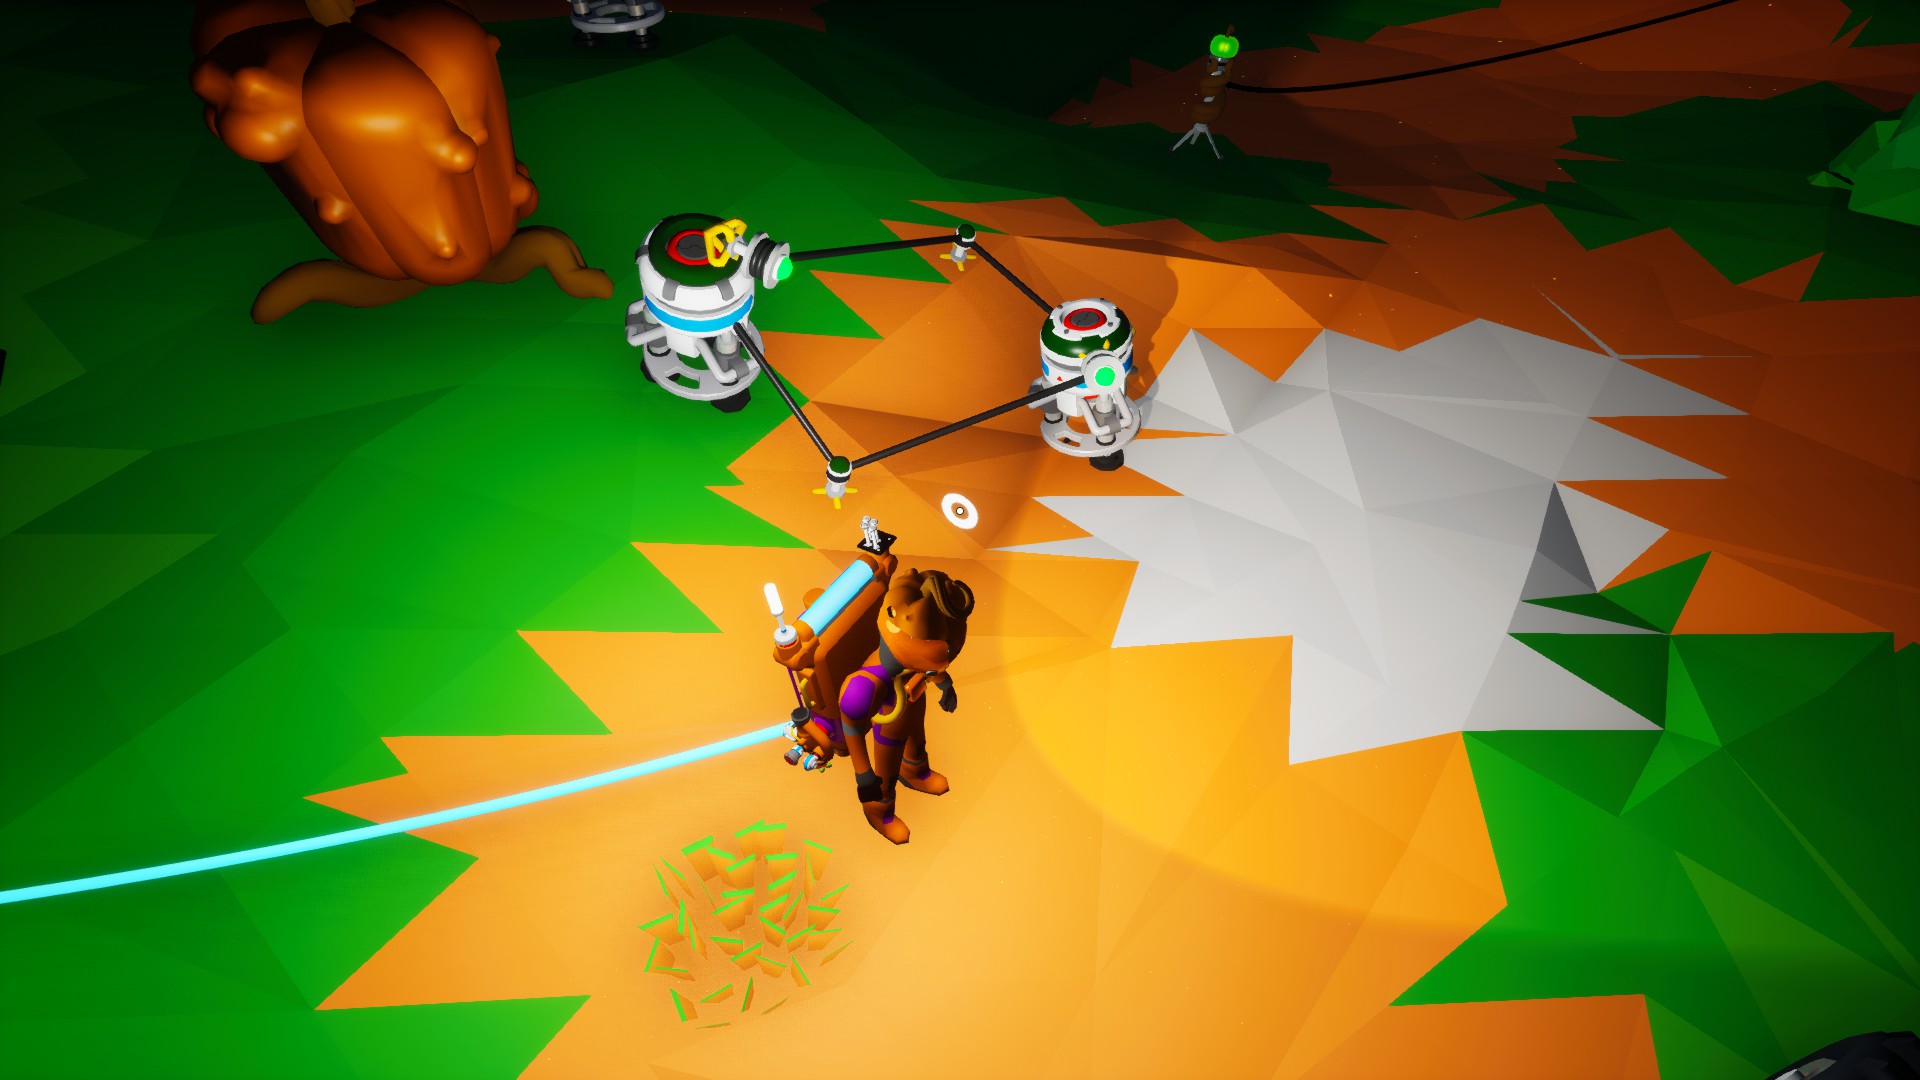
Looks like the delay repeater has to be activated by something else, and doesn’t .. eh .. repeat again after the first activation. But you can set up a feedback loop with a button repeater and the delay repeater such that it activates again and again, automatically. Place a button repeater, and set its target to a delay repeater. For the delay repeater, set a segment down and branch it back to the button repeater so that it sets it off again. The second part of that branch can be set to whatever else you want to activate (e.g. the proximity repeater). This image below shows my setup.
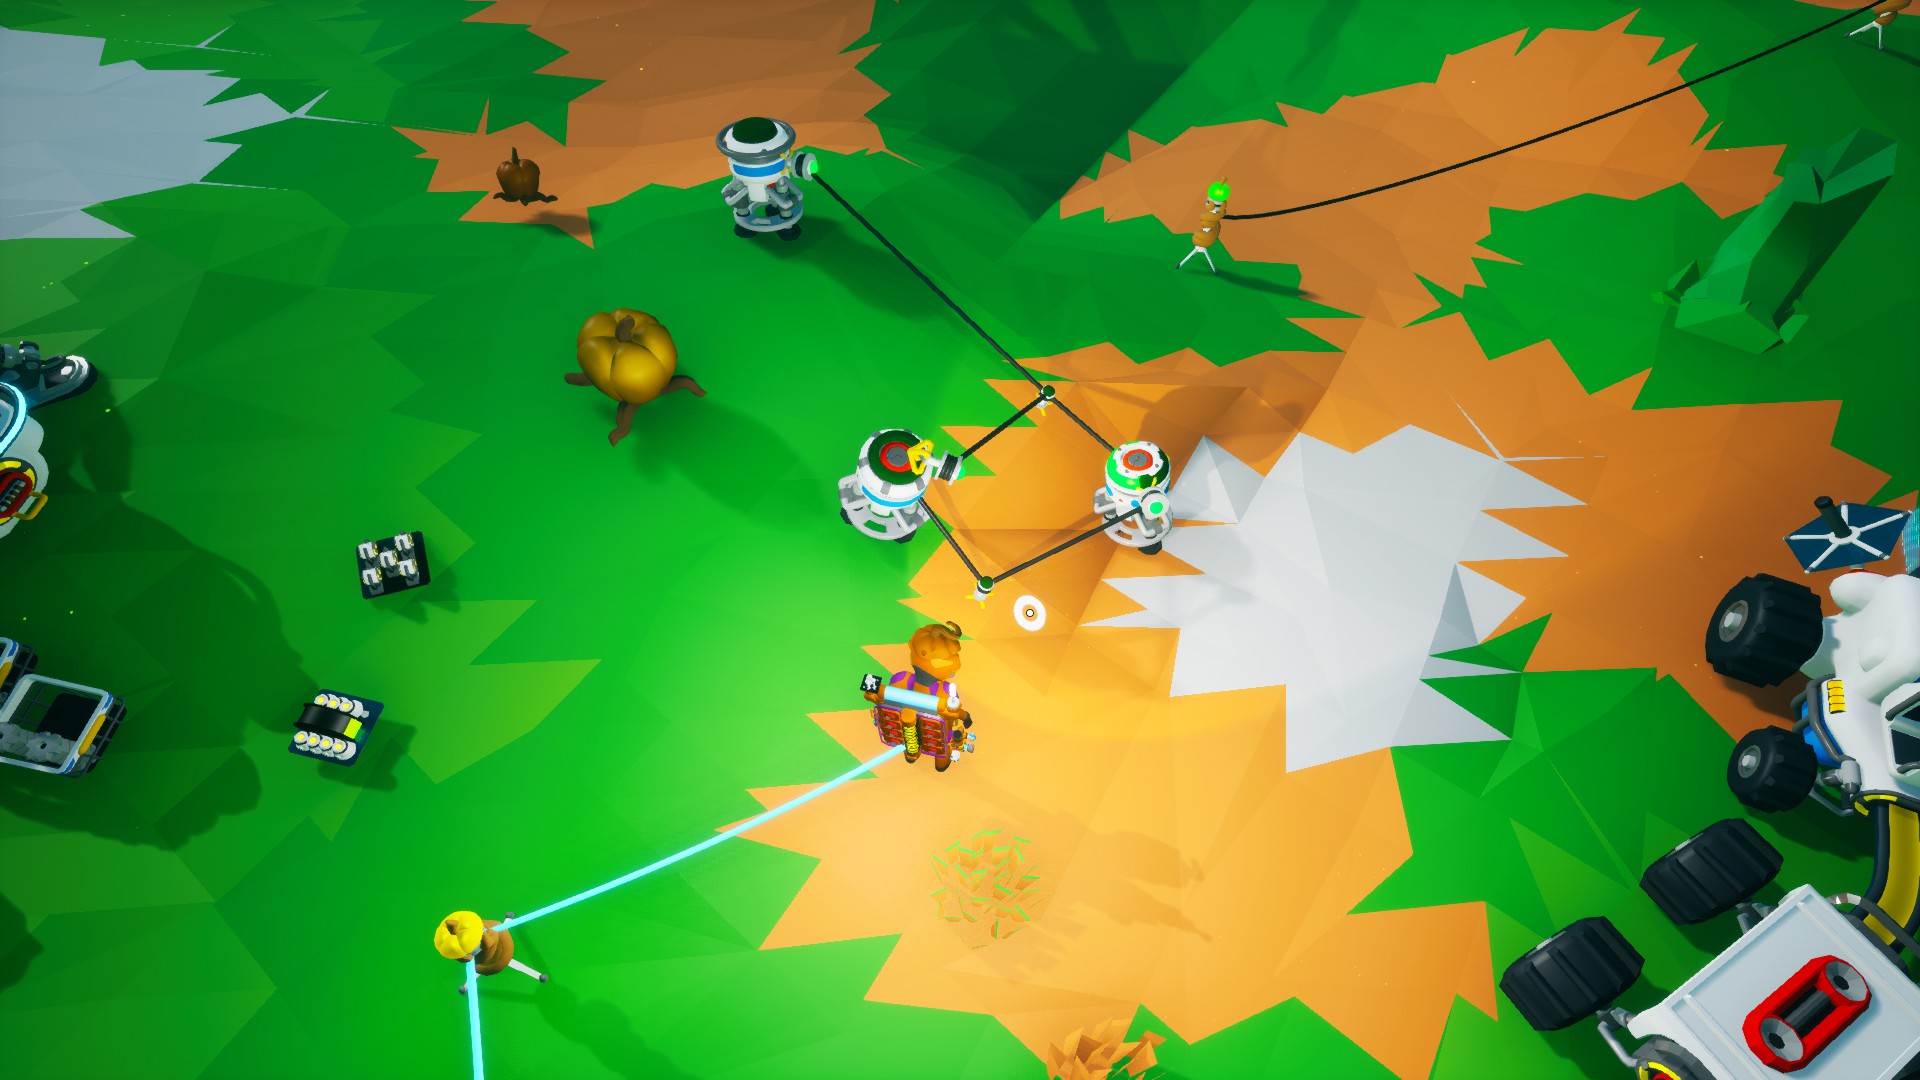
Delay Repeater Not Working
I was really confused when my delay repeater was not being activated by my button repeater. Be careful on what type of “pin” is attached to the delay repeater. There are two types: a Segment Pin and a Target Pin. When dragging the anchor point out from the top of a repeater, you can set a segment pin (anchor) down on the ground with your activate key ( F key for PC). You won’t be able to pick that up again and use it as a “target” pin to activate anything. Hover over it, press the activate key to make a Target Pin, which you place on the object you want to activate.
New this year is that the squash samples and seeds will disappear after a time. To avoid this, the samples need to be stored or slotted somewhere, and the seeds need to be planted!
Happy Automating!